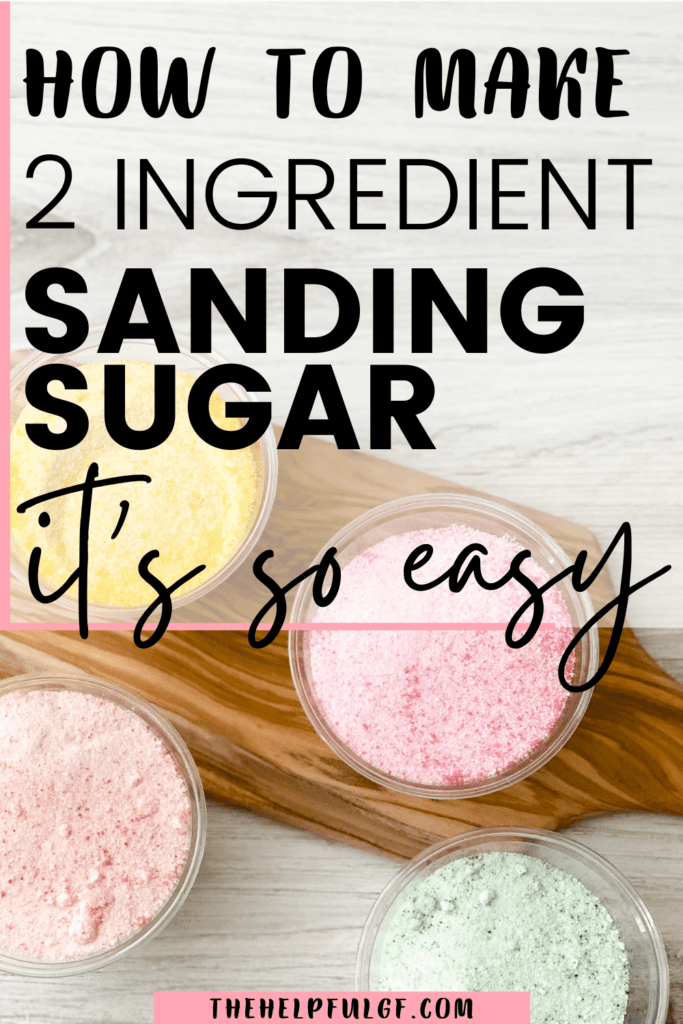
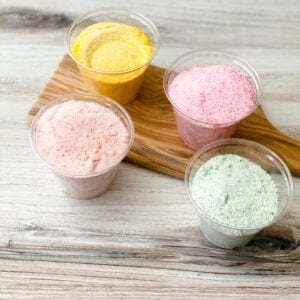
This tutorial for how to make sanding sugar is so simple and easy—you’ll be making all the colors and using it to make all your baked goods and drinks sparkle!
Keep reading for the step-by-step and recipe instructions!
Are you new here? Here's tips to live gluten-free without the stress!
- How to eat out SAFELY when you’re gluten-free
- How to make ANY recipe gluten-free
- How to TRAVEL gluten-free and still have fun
…get valuable support in my EXCLUSIVE Facebook community “Stress-Free Gluten-Free” by clicking here!
The gluten-free guide below is based on personal experience and research. Always be sure to discuss any medical changes with your doctor for your personal medical needs. Additionally, this post contains affiliate links. As an Amazon Associate I earn from qualifying purchases. My full disclosure isn’t that interesting, but you can find it here.
Take this quick quiz and uncover the secrets to making your gluten-free lifestyle not just manageable, but truly enjoyable with custom recipes and tips!

What is Sanding Sugar For?
Sanding sugar is a colored granulated sugar that can be used instead of sprinkles (cause finding gluten-free sprinkles is a headache. Gah. But if you ARE looking to find gluten free sprinkles check out this ultimate guide to sprinkles here.)
It’s perfect for adding some color and sparkle to baked goods and candies.
You can also sugar the rim of a glass for smoothies, milkshakes, cocktails, or other fancy drinks!
Does sanding sugar go on before or after baking?
If you’re using sanding sugar to make your cookies or muffins sparkle, add sanding sugar to the top before baking.
However, if you are planning to use sanding sugar in place of sprinkles, frost with icing or frosting and then sprinkle with the sanding sugar.
How do you use sanding sugar on rims of glasses?
To coat your smoothie or milkshake with sanding sugar, use a moistened sponge and rub it along the glass rim.
Then, place the glass upside down in a dish of the sugar, and gently twist.
How long does sanding sugar last?
Color coated sugar crystals last as long as sugar. There’s really no expiration date.
However, moisture gets in it can clump or begin to get a damp odor. At that point, just toss it and make more! It is so simple and costs less than $1 per batch!
How to make DIY Sanding Sugar
To make this DIY recipe, you’ll need to decide if you want to use the food processor method or without a food processor.
The food processor method is quicker and results in a more uniform color, but if you’re doing this DIY with kids, they will have fun using the plastic baggies to distribute the color!
Equipment to make colored sugar with a food processor:
- Food processor
- Parchment paper
- Baking sheet
- Air tight container for storage
Equipment to make colored sugar with plastic bags:
- Zipper quart-size plastic baggies
- Medium sized bowl
- Sifter
- Parchment paper
- Baking sheet
- Air tight container for storage
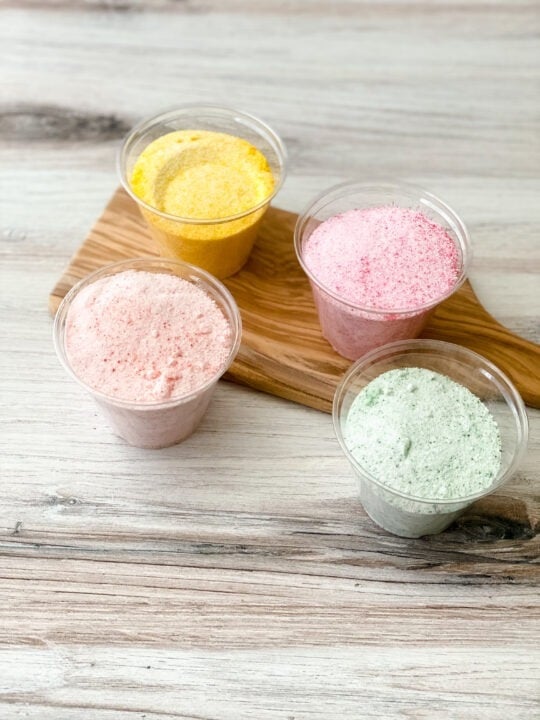
Ingredients:
No matter which method you use, you only need two simple ingredients: granulated sugar and gel food coloring. Be sure your gel food coloring is gluten-free! I use Nomeca gel coloring as it is gluten-free but also soy free, nut free, and vegan for easy allergen free recipes!

In addition to the 8 pack of color they also make a 12 pack that has even more variety!
Step by Step directions:
First, preheat your oven.
Second, you need to mix your colored sugar according to one of the following methods:
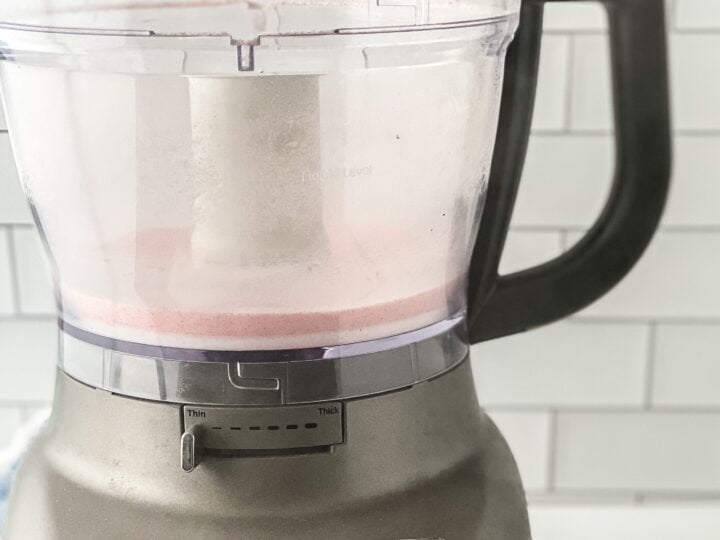
If using a food processor:
Add your sugar to the food processor with one drop of gel coloring.
Mix it on high speed until the color is uniform.
Continue with step 3 below.
If using baggies:
Add your sugar to a ziplock baggie and add in one drop of gel food coloring.
Seal the baggie and squish the sugar and gel until the sugar is evenly colored (or have your kids do it for you!)
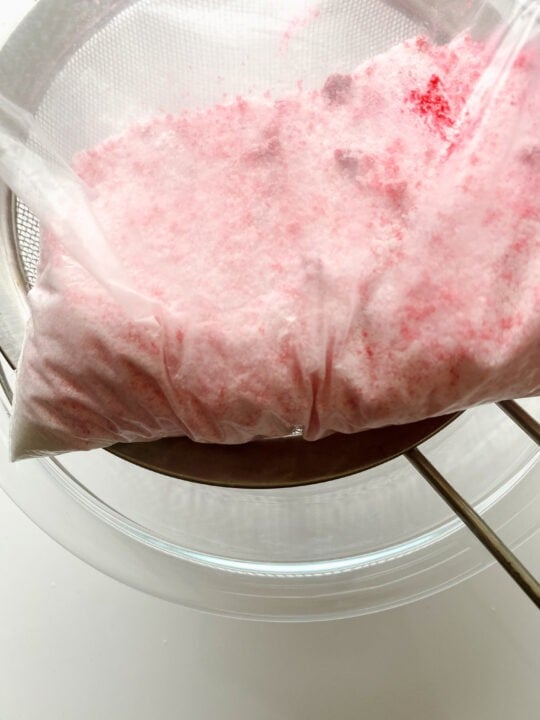
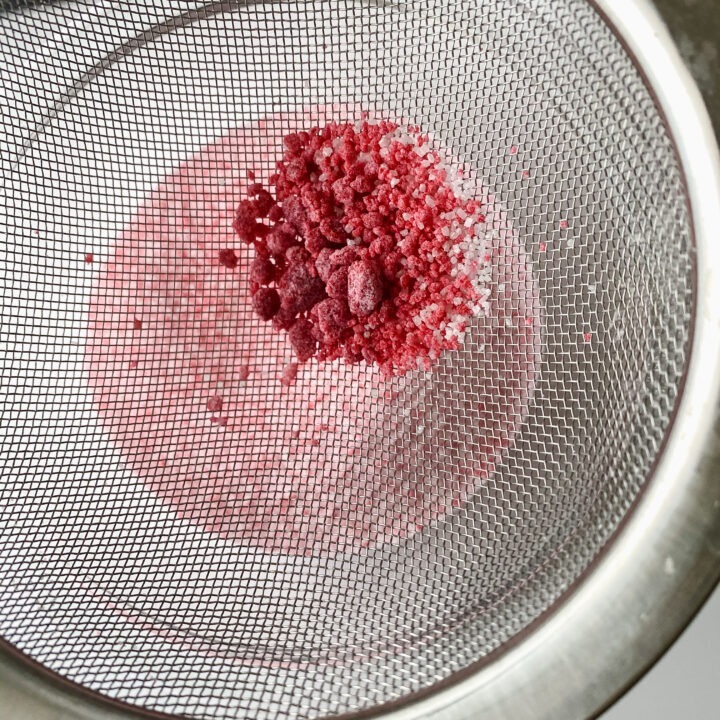
Sift the sugar into a bowl to get rid of any large clumps.
Continue with step 3 below.
Step 3: Both methods
Bake the sugar on a lined baking sheet spread thinly for 10 minutes, and then allow to cool completely before using (about 15 minutes.)
To store, keep it in an airtight container at room temperature.
Did you love this step-by-step tutorial on how to make colored sanding sugar?
If so, be sure to pin this to Pinterest using the social sharing buttons so you have this saved for whenever you’re ready to make it!
Scroll down for the printable recipe and take the FREE quiz to discover your personalized gluten free plan to claim back your love of food!
What's they key to loving your gluten free life? Get your personalized plan with the guide you need to thrive!
Gluten-Free Colored Sanding Sugar
Equipment
- parchment paper
- baking sheet
- Air tight container
- Food processor (hand mixing method)
- Plastic baggie (hand mixing method)
- Sifter (hand mixing method)
- Medium bowl (hand mixing method)
Ingredients
- 1 cup granulated sugar
- 1 drop gel food coloring (be sure it's gluten-free! see post above for suggestions)
Instructions
- Preheat your oven to 250F
Food Processor Method
- Add the 1 cup sugar and 1 drop gel food coloring to the food processor.
- Process on high speed for around 30 seconds until color is even.
Hand Mixing Method
- Add the 1 cup sugar and 1 drop of gel food coloring into a plastic baggie with zip closure.
- Seal the baggie and squish the sugar and gel until the sugar is evenly colored.
- Place a sifter over a medium bowl, empty colored sugar into the sifter and sift into the bowl to get rid of large clumps.
Both Methods
- Pour the colored sugar onto a parchment lined baking sheet and spread it thinly.
- Bake for 10 minutes.
- Allow to cool completely before using
- Store in an airtight container at room temperature
Notes
- Step by step preparation images
- specific brand equipment and ingredient suggestions *such as gluten-free gel food coloring!)
- and more!
Other sweet gluten-free recipes you will love:
- Starbucks copycat white chocolate mocha coffee bombs {gluten free}
- Flaky lemon blueberry scones {gluten free}
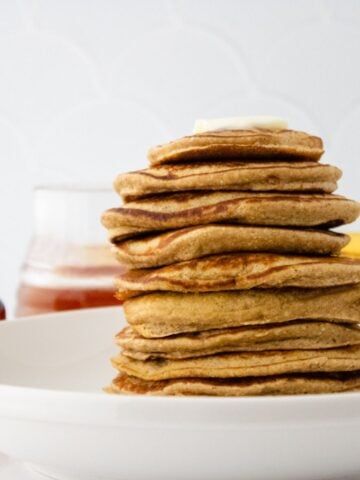
- Banana stuffed pancakes {gluten free | vegan option}
- 3 Ingredient mocha espresso truffles {gluten free}
- List of the Best Easy No Bake Gluten Free Desserts

Leave a Reply