Gluten-Free Recipes
This is a collection of all the gluten free recipes on The Helpful GF. These recipes are designed to be simple and easy staples for a gluten free diet.
-
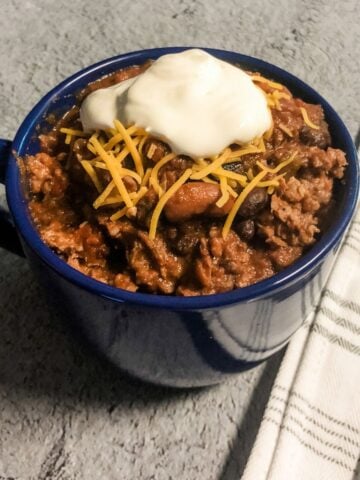
The Best Crockpot Gluten Free Chili with Green Chilies
-
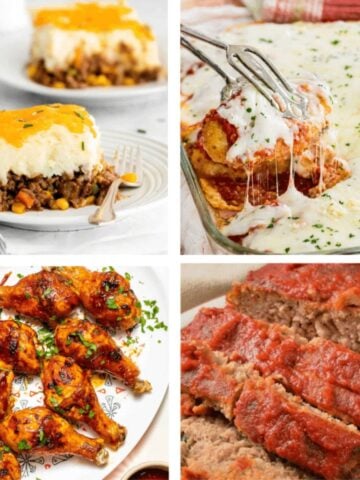
28 Gluten Free Comfort Food Recipes to Try
-
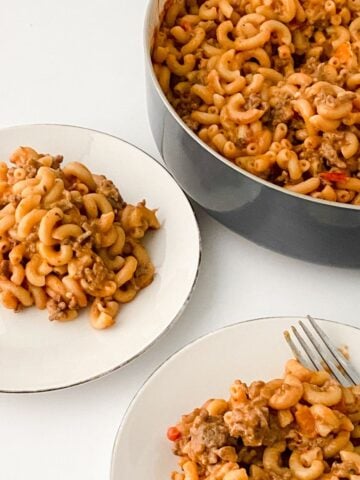
Gluten-Free Hamburger Helper: Easy and Delicious Comfort Food
-
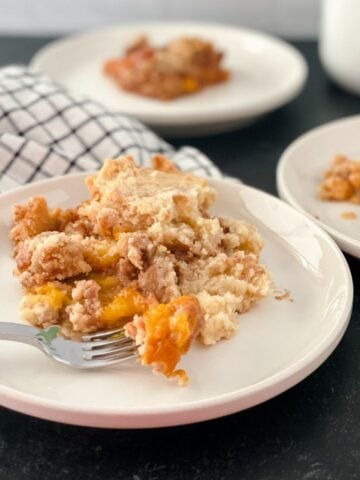
Gluten Free Cake Mix Peach Cobbler
-
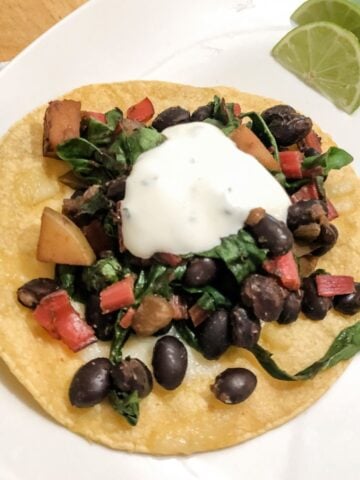
Gluten-Free Vegetarian Tostadas with Honey Lime Sauce (Gluten-Free, Vegetarian, Plant Based)
-
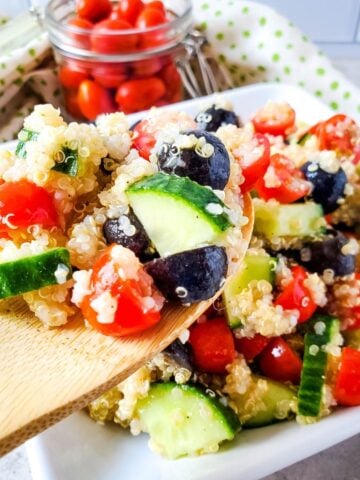
Mediterranean Quinoa Salad (gluten free & vegan)
-
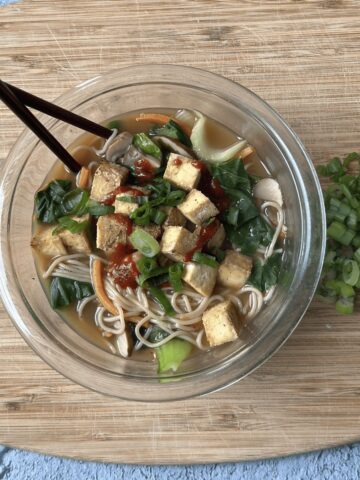
Simple Gluten-Free Ramen Recipe: Dairy-Free, Vegan & Packed with Protein and Veggies!
-
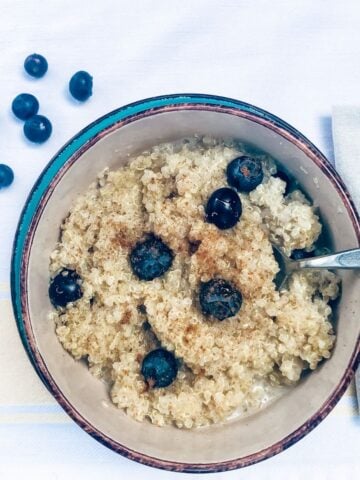
Easy Breakfast Quinoa with Blueberries and Cinnamon | Gluten-Free, Grain-Free, Dairy-Free, and Vegan
-
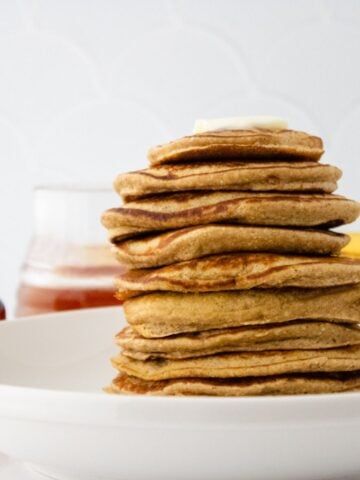
Fluffy Gluten-Free Banana Oat Blender Pancakes
-
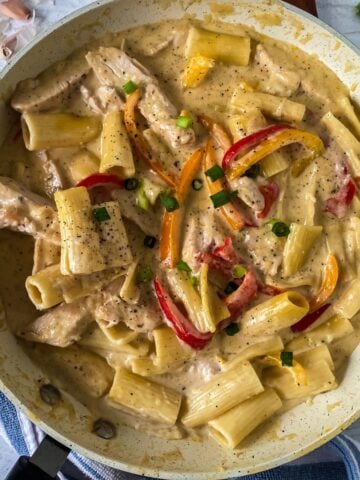
Gluten-Free Rasta Pasta Recipe
-
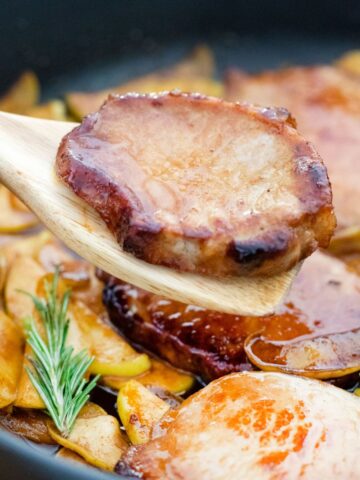
Cinnamon Apple Pork Chops Recipe | Gluten Free with Dairy Free Option
-
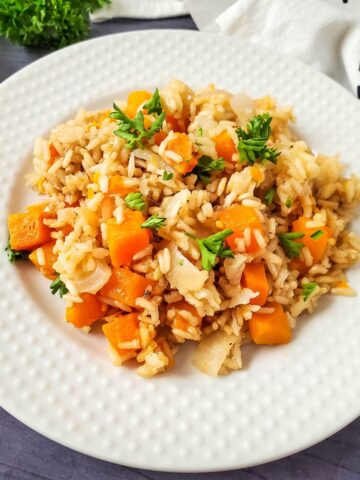
Slow Cooker Butternut Squash Risotto - Gluten Free
-
30 Decadent Gluten Free Dairy Free Dessert Recipes
-
Easy Southwestern Quinoa Salad Recipe | Gluten-Free & Vegan
-
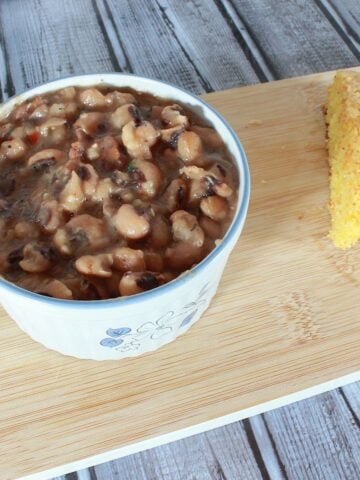
Instant Pot Southern Black Eyed Peas (Gluten Free)
-
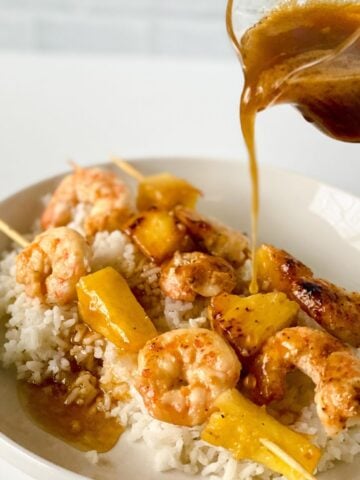
Honey Garlic Shrimp and Pineapple Skewers | Gluten-Free & Paleo
-
26 Healthy Gluten Free Desserts Everyone Will Love
-
22 Gluten Free Soup Recipes
-
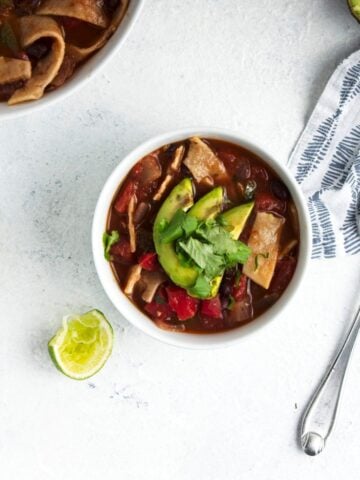
Vegetarian Tortilla Soup (gluten free, dairy free, vegan)
-
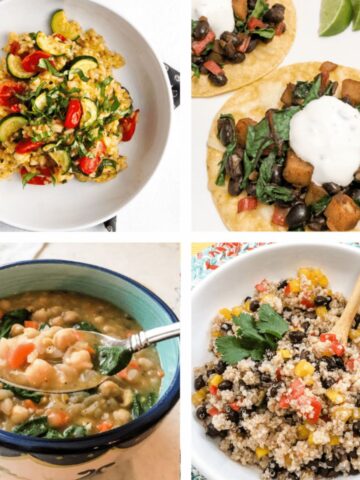
12 Vegetarian Gluten Free Dinner Recipes You Need
-
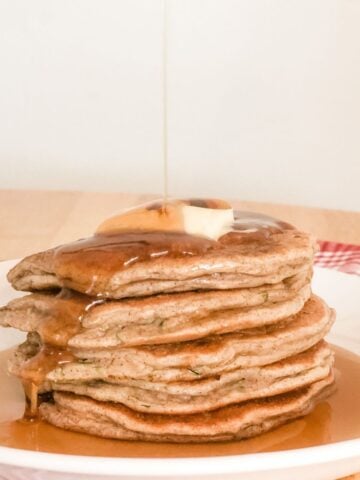
Healthy Zucchini Pancakes Recipe | gluten free + high protein
-
10 Minute Gluten-Free Chicken Fried Rice
-
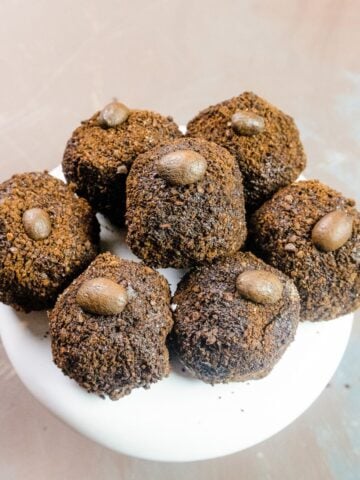
Simple Mocha Espresso Truffle Recipe | 3 Ingredients and Naturally Gluten-Free
-
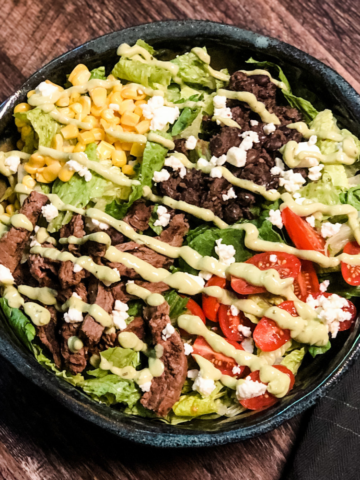
Best Gluten Free Steak Salad With Avocado Dressing
-
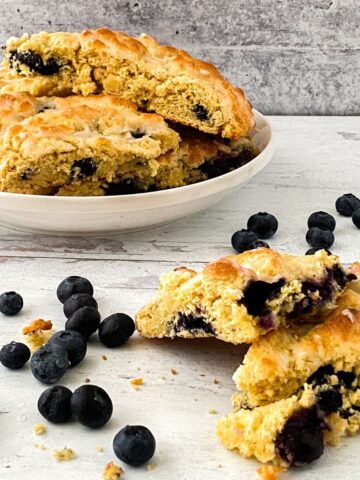
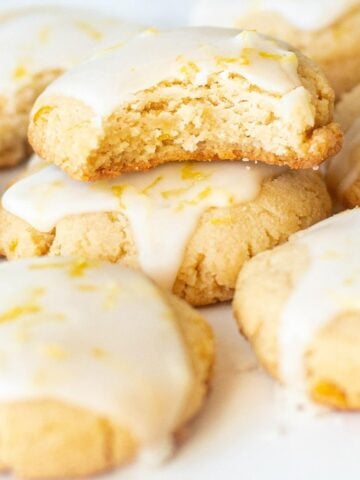
The BEST Gluten-Free Lemon Blueberry Scones Recipe
-
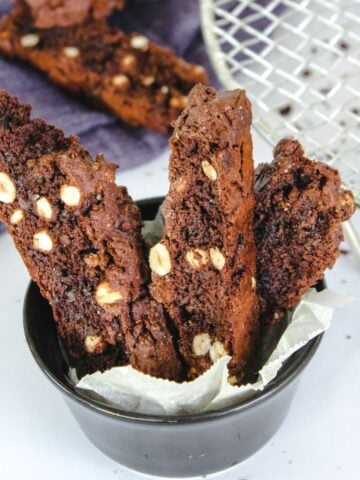
Gourmet Chocolate Hazelnut Biscotti | An Easy Gluten-Free Recipe
-
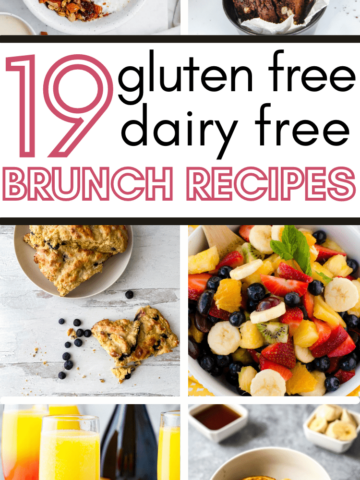
19 Gluten Free Dairy Free Brunch Recipes
-
Peanut Butter Hot Cocoa
-
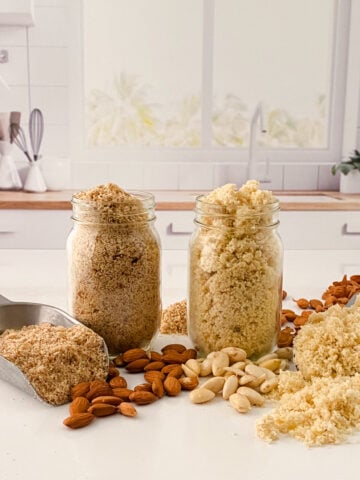
Almond Meal vs Almond Flour + How To Make Both
-
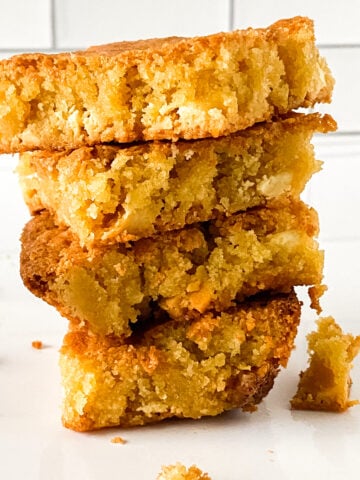
Perfect Gluten Free Blondies Made with Almond Flour
-
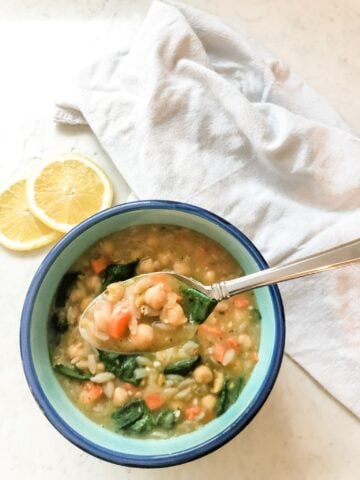
Gluten Free Vegan Lemon Orzo Soup Recipe [oil-free]
-
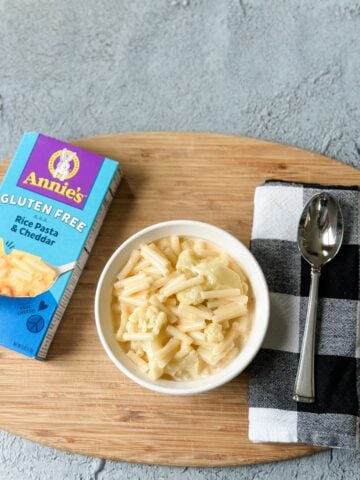
High Protein Gluten Free Mac and Cheese Recipe- From Box to Complete Meal
-
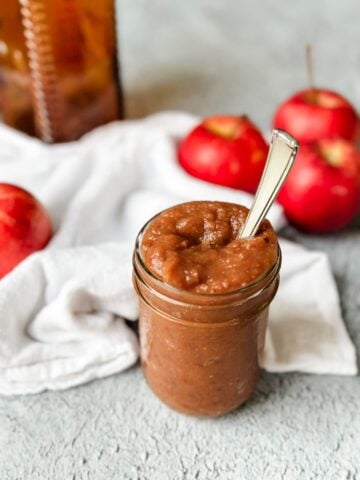
Homemade Brown Sugar Cinnamon Applesauce
-
28 Best Dairy Free Gluten Free Cookie Recipes to Savor
-
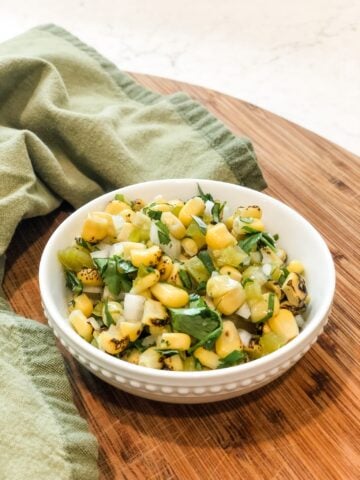
Fire-Roasted Corn Salsa Recipe (gluten-free | vegan)
-
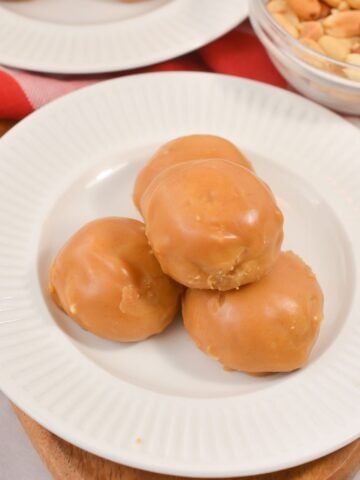
Chocolate Peanut Butter Protein Donut Holes Recipe (gluten free, sugar free, keto)
-
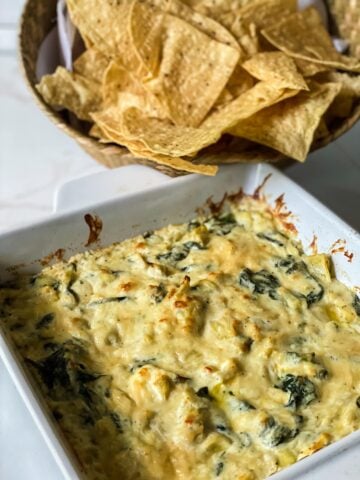
Oven Baked Gluten Free Spinach Artichoke Dip
-
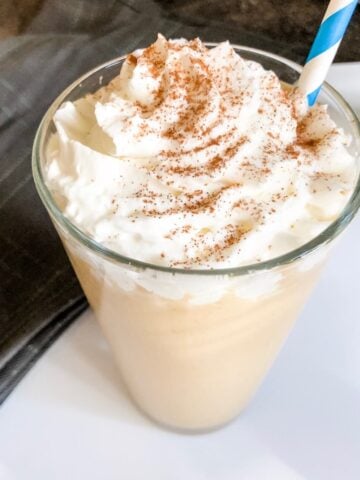
Low Carb Pumpkin Spice Frappuccino Made With Keto Chow
-
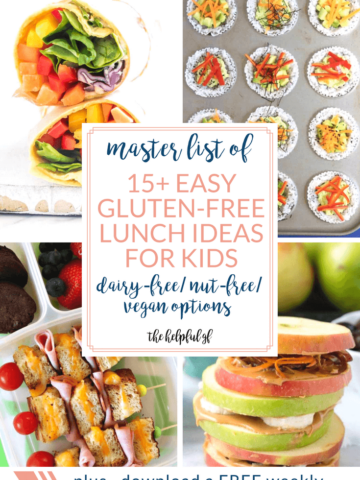
Gluten-Free Lunch Ideas for Back to School
-
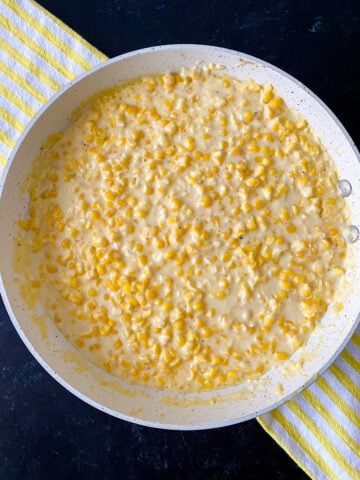
Easy Gluten Free Creamed Corn Recipe